The Hissing Tomb is one of those things in Divinity 2 you usually learn about the hard way: one of your characters opens it, turns to stone, and nobody in the party knows how to fix it. The tomb sits in a crypt under the Stonegarden graveyard on Reaper’s Coast, surrounded by a small crowd of tomb raiders who clearly made the same mistake before you.
This guide aims to explain how to get down there, what the curse actually does, which protections really work (checked in the game’s own script files), what is inside, and how to squeeze a lot of free experience out of the statues first.
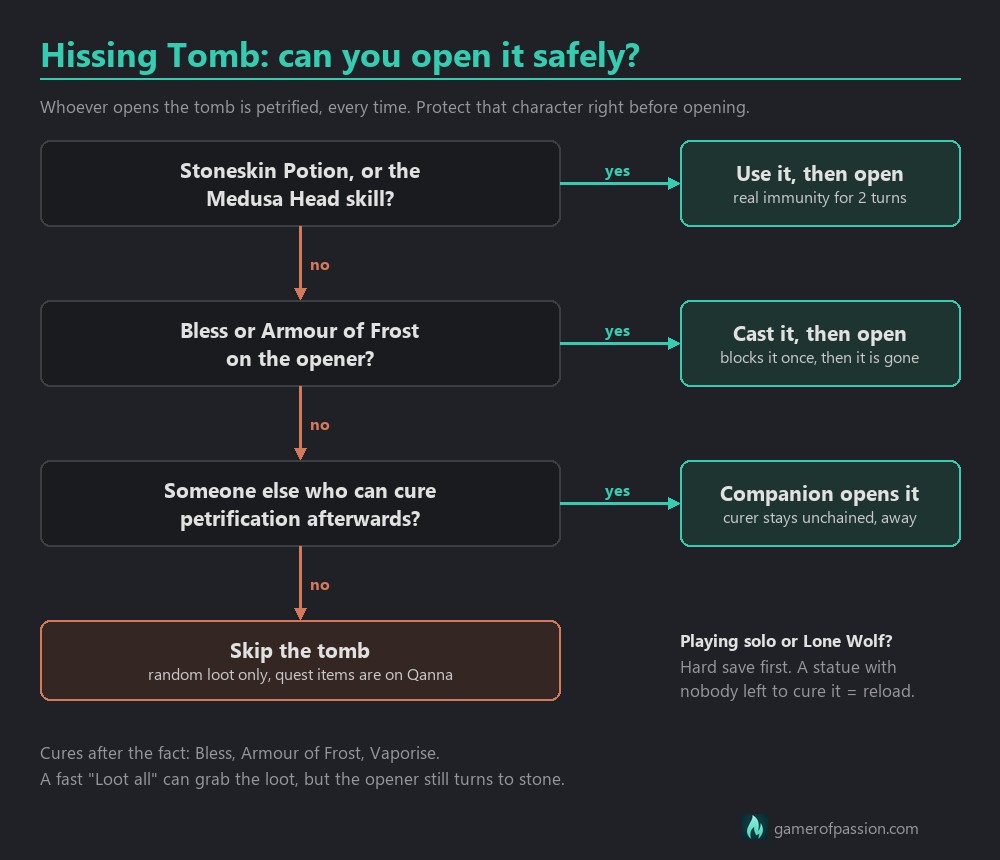
If you just need the safe way in: right before opening the Hissing Tomb, cast Bless or Armour of Frost on the character who opens it (each blocks the petrification once), or have them drink a Stoneskin Potion. Never open it with a lone character who has no way to cure petrification. And if you are only here for the quest All in the Family, you do not need to open the tomb at all, because the key and the Ripped Page are on Qanna.
Getting into the gated crypt
The crypt is in Stonegarden, the graveyard area of Reaper’s Coast in Act 2. Players on Reddit give the tomb’s position as roughly x:549, y:129, if you want to check it against your map.
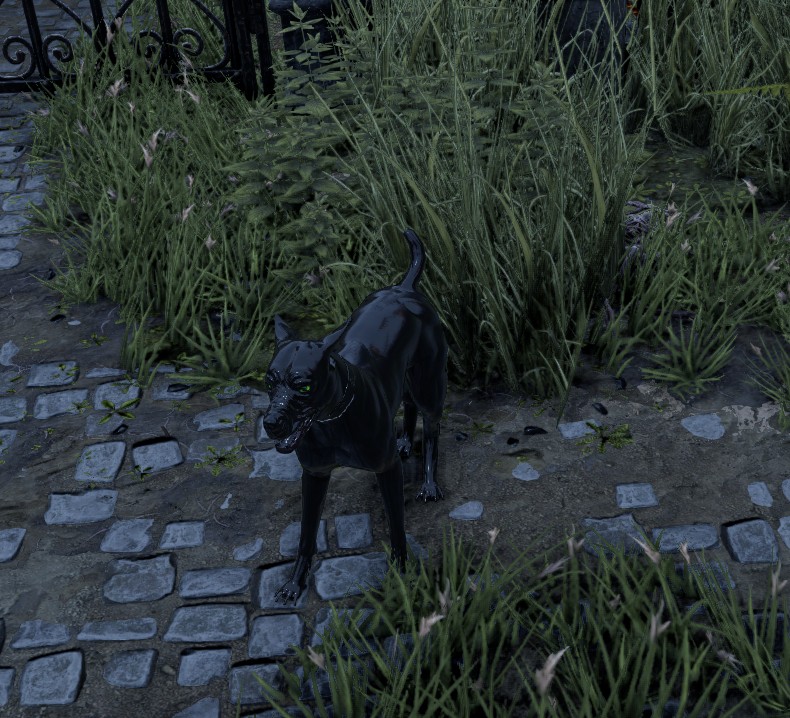
Outside the gate you will meet Andras, an undead dog (level 11 according to Fextralife). He is not alone for long. Andras summons Kedelon the Bone Crusher, an undead troll that is soul-bound to him, and killing Andras kills Kedelon as well. So make sure to focus the dog and leave the troll alone.
If you have Pet Pal, you can talk to Andras, but the conversation will still end in a fight. You can also sneak past him to the gate and deal with him later.
There is a lever right next to the gated crypt door, so you do not need to pick the lock. One early Reddit post says you need a lockpick, but a reply there points out the lever. Pull the lever. Then take the hatch down.
What the Hissing Tomb curse does
Downstairs you will find several petrified tomb raiders, a petrified sourceress called Qanna, and the tomb itself. All of them are statues because of the tomb’s curse.
The game’s script for this crypt is short and quite brutal. Every time a character uses the Hissing Tomb, that character is petrified with no time limit. Only the character who opened it is hit, so the rest of the party is safe as long as someone else does the looting.
The petrification is forced onto the opener, which is why it will go straight through physical and magic armor. Full armor bars are not going to help you here. Half a second later, the game closes the loot window if the opener is still a statue.
The curse never switches off, so every new opening (for example, going back for something you left behind) will petrify the opener again.
Mind that this is a status effect, not a cursed item sitting in your inventory. If you have that other kind of problem, our guide on cursed items in Divinity 2 covers how to get rid of them.
Deal with Qanna and the raiders first
Before anyone goes near the tomb, clear out the statues. They are worth far more than most fights in the area.
The petrified tomb raiders
The level data places five petrified raiders in the crypt, and you can attack and kill them while they are still statues. Each one is worth roughly 3,850 to 3,900 XP (Reddit reports 3,850, Fextralife lists about 3.9k).
Do not cure them first. The game script makes a raider shatter the moment a player removes its petrification, so you will get nothing for the spell you spent, and Fextralife also notes there is no experience that way. Just hit them while they stand there.
Qanna
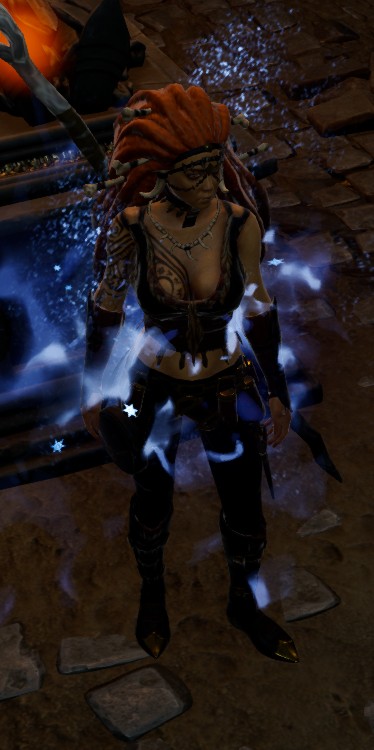
Qanna is the more interesting statue. If you remove her petrification with Bless or Armour of Frost, she talks to whoever cast it. It does not really matter what you say, though, as she will attack you anyway, no matter how well your Persuasion goes.
In the fight she summons skeletons, and those skeletons summon more. Kill Qanna and all of the summons vanish, so go straight for her.
For reference, these are her stats on Classic difficulty according to Fextralife:
- level 11
- 522 vitality
- 144 physical armor and 287 magic armor
- 75% fire resistance and 75% air resistance
So leave your fire and air skills alone. Pick anything else.
The easier option is to never wake her up. Like the raiders, Qanna can be damaged and killed while she is still petrified, and you get the full experience for it (Fextralife lists 7,725 XP, one Reddit player got a bit more, so expect about 7,700 XP).
Qanna carries the Ripped Page and the Shadowed Tomb Key. You can pickpocket both while she is petrified, but you are going to need Thievery 3 for that. Otherwise you simply loot them from her corpse.
Ways to open it safely
Once the room is empty, you can decide whether the tomb is worth it at all. Player reports on this are all over the place, so this section is based on the game’s own status scripts and stats instead.
| Method | How you get it | What the game files say |
|---|---|---|
| Bless | Source skill, cast it on the opener right before opening | Blocks the petrification, but the Blessed status is used up doing it. Lasts 2 turns. One cast = one safe opening. |
| Armour of Frost | Hydrosophist skill, cast it on the opener right before opening | Gives the Magic Shell status, which blocks the petrification and is used up doing it. Lasts 3 turns. One cast = one safe opening. |
| Stoneskin Potion | Craft or buy it (a Steam player lists Earth Essence plus an empty potion bottle) | Full immunity to Petrified for 2 turns, and it is not used up, so you can open the tomb more than once. Halves your movement speed while active. |
| Medusa Head | Polymorph skill | Immunity to Petrified while the head is active (2 turns). |
| Expendable opener plus cure | Let a companion open it, then cure them | Works. Bless and Armour of Frost both remove Petrified afterwards, and so does Vaporise. |
| Loot all very fast | Hit “Loot all” the moment the tomb opens | Several players report grabbing everything before the loot window closes. The opener still turns to stone, though, so this only helps if someone can cure them afterwards. |
So Bless and Armour of Frost both work, which explains why both get recommended. However, they block only one petrification each, and they run out. If you cast them and then walk around the room for a while, or open the tomb twice, the protection is gone. That is probably why some players swear Armour of Frost did nothing for them.
That being said, the Stoneskin Potion is the most forgiving option, since it gives real immunity instead of a one-time block. If you have both Bless and Armour of Frost on the same character, only one of them gets used up (Armour of Frost goes first).
Qanna herself drops a hint, by the way. One of her lines in the game is “Never figured I’d need frost armour…”.
If you want to go the expendable-companion route, make sure the curer is unchained from the party (drag their portrait away) and stands outside any effect, so you do not end up with two statues.
Lone Wolf and solo runs
This is where it gets ugly. If every character you have is petrified, nobody is left to cure anyone, and the only solution is to reload.
The Reddit PSA that warns about this came from a player who lost about two hours that way. One commenter even got both of their lone wolves petrified and then quicksaved on top of it.
So if you play solo or as a Lone Wolf pair, keep a few things in mind:
- make a hard save (not just a quicksave) before you touch the tomb
- open it only with Bless, Armour of Frost or a Stoneskin Potion active on the opener, cast right before
- with two lone wolves, open with one while the other stays unchained and away from it, with a cure ready
- if you have none of these, just skip the tomb
Skipping it costs you very little. The quest items are on Qanna, and the big chunk of experience in that room comes from the statues you have already smashed, not from the tomb itself, so a solo player who has none of these protections can walk away without really missing anything important.
As for what is actually inside: nothing unique. The level data gives the Hissing Tomb two loot rolls:
- one guaranteed “precious” item, which is valuables to sell (a gold spoon, silver cups or plates, or a gem like a ruby, pearl, malachite or diamond)
- one roll on the game’s medium reward table, which is usually a magic weapon or armor piece, a skillbook, some gold or crafting ingredients
The loot is random and scales with your level like any other chest. It is a nice bonus, but definitely not worth losing a character or a few hours over.
The Shadowed Tomb Key and the Ripped Page
Both items belong to All in the Family, which you get from Tarquin at the Stonegarden gate. The Ripped Page mentions that Johanna Surrey chanted “Two, One, Three!”, with 2-1-3 scribbled in the margin.
The key opens Johanna Surrey’s tomb, the family crypt just south of the gated crypt. Inside it works like this:
- press the two wall buttons in the first room (you need to walk up close to spot them)
- put someone or something heavy on the pressure plate in the third room
- cast Spirit Vision in the second room to reveal three levers
- pull them in the order middle, left, right (that is the 2-1-3)
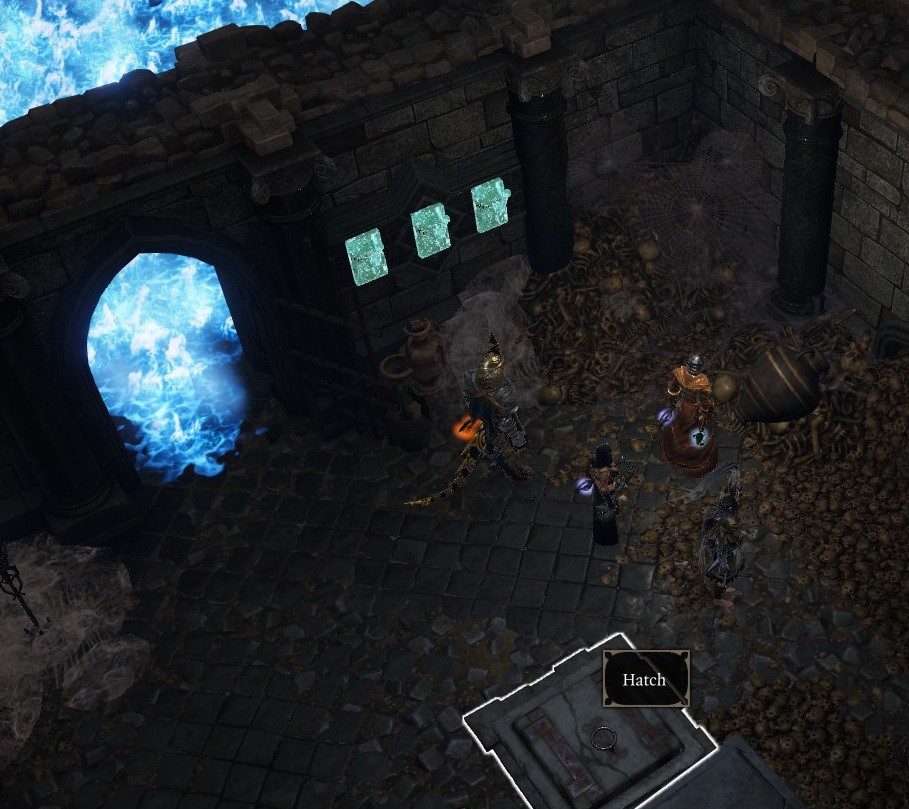
The pressure plate is fiddly. Players report that a 5-weight shield held it down where a 3-weight weapon did not, and a totem works too. AI companions tend to walk off the plate when surfaces change, and anyone standing in that room takes damage from the surfaces.
If you already pulled levers in the wrong order, press the middle lever until a water surface appears, then do left and right.
The hatch then opens, and the sarcophagus holds an artefact (half of Anathema). On the way out, Clay Sentinels attack. Kill the two at the top of the stairs first, as they revive the others. Or skip the fight entirely by fast traveling to the Stonegarden waypoint.
And while you are in Stonegarden anyway, the Thrice-Bound Chest sits in the same graveyard and is a lot friendlier to open.