The Ruins are one of the most intriguing areas of Don’t Starve, but they are also hidden deep inside the caves and are particularly hard to find. This guide will tell you all about how to easily find the ruins, what you can do inside them, and also what to watch out for when you are there.
Beware that this guide is only for Don’t Starve Together, as different rules apply for the single-player version.
How to find the Ruins
The ruins are a biome inside the caves. They are not just any biome though, but a special one with specific rules and also unique loot. As such, they are designed in a way that makes them harder to find. In every Don’t Starve Together world you play, the ruins might be somewhere else, but the rules that apply to the biome are always the same.
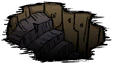
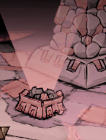
First of all: Find the Caves. The ruins are inside the caves, so you need to go down there. The entrance is called sinkhole. For reference, check the picture to see how the entrance looks like.
Once you are inside the cave, there are certain rules that apply to finding the ruins.
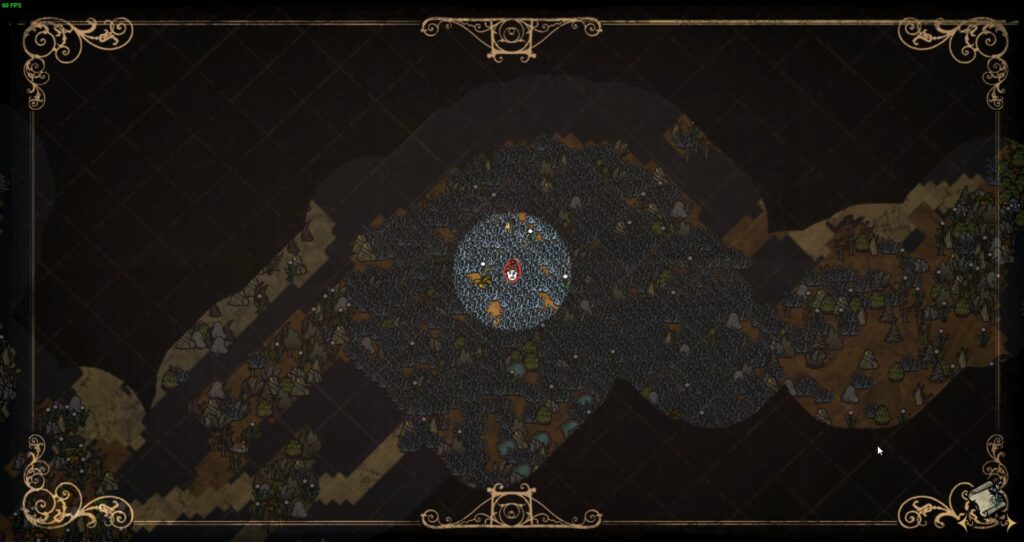
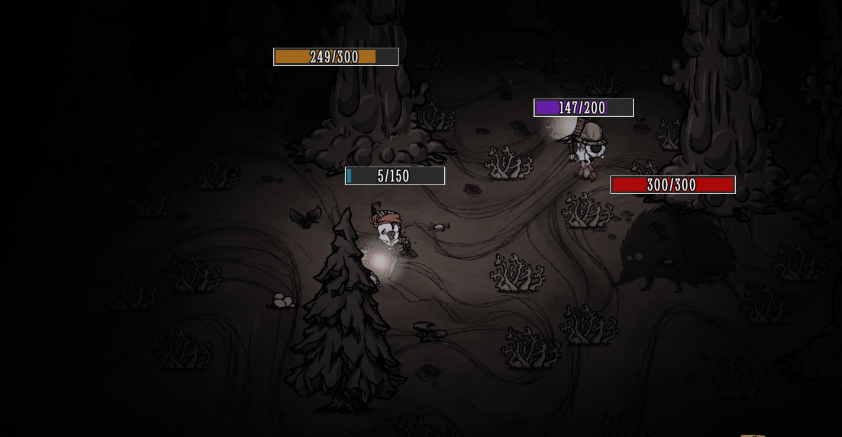
You need to find a specific biome that is commonly described as the “Lichen Area”. This biome is actually already part of the ruins but doesn’t look like it. It is huge and way easier to find than the actual ruins, but it will always lead into the ruins.
The Lichen Area has its name from the gigantic amount of Lichen that you can find inside (see the picture for reference).
The Lichen Area can be found by looking for big swamp areas with lots of lightbulbs. This area will always connect to the Lichen Area. If you are having trouble finding a big swamp area with many lightbulbs, look for the Blue Mushroom area as it will only feature a path that connects it to the Swamp-Lightbulb-Biome.
Once you find the Lichen biome, you are already inside the ruins. To reach the actual biome with the oddities like Thulecite and the Ancient Pseudosience Station, you will need to run through the Lichen area. Be careful of the dangers that lurk inside here, such as Slurpers that will latch on to your head.
Just keep walking as it is quite the way, and eventually, you will find the strange, red ground.
Each world is different
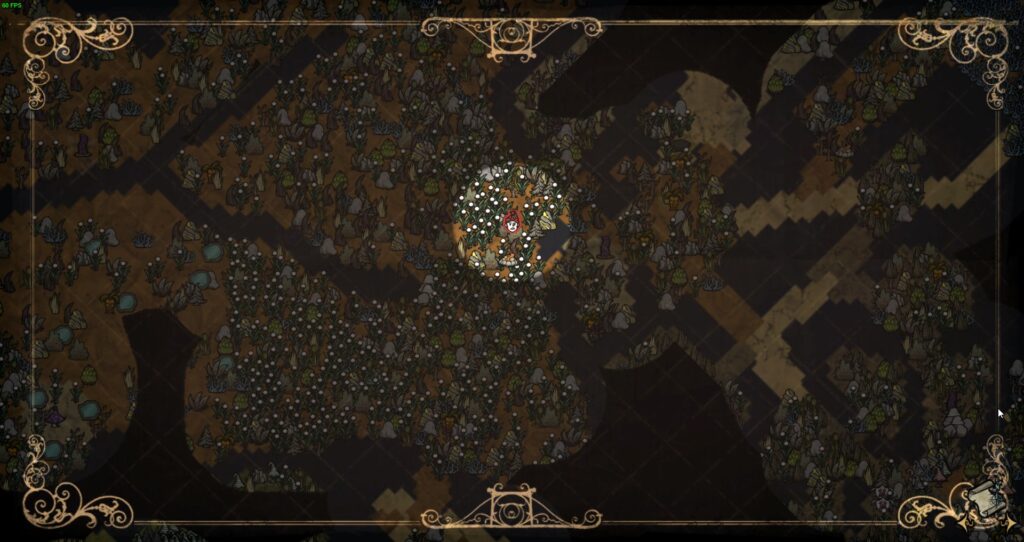
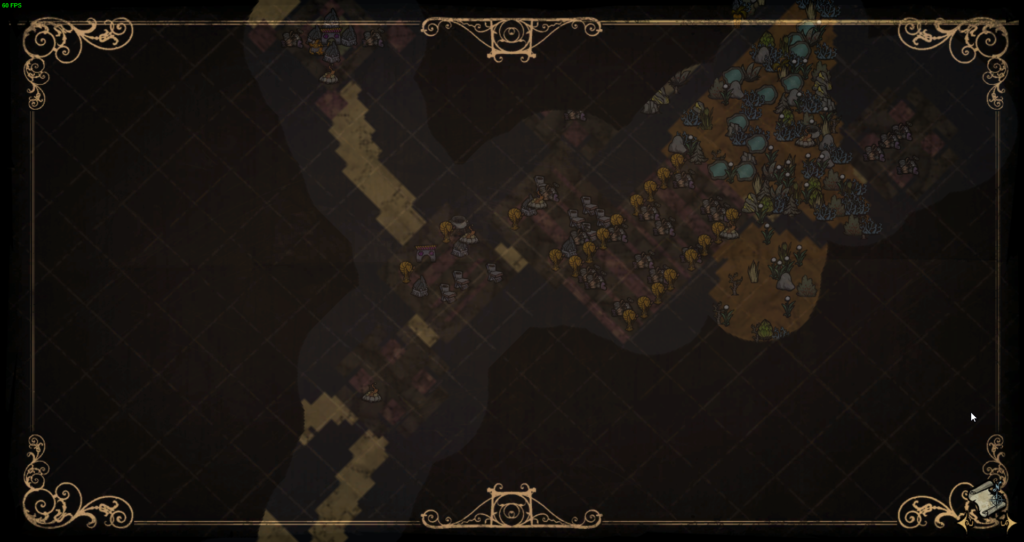
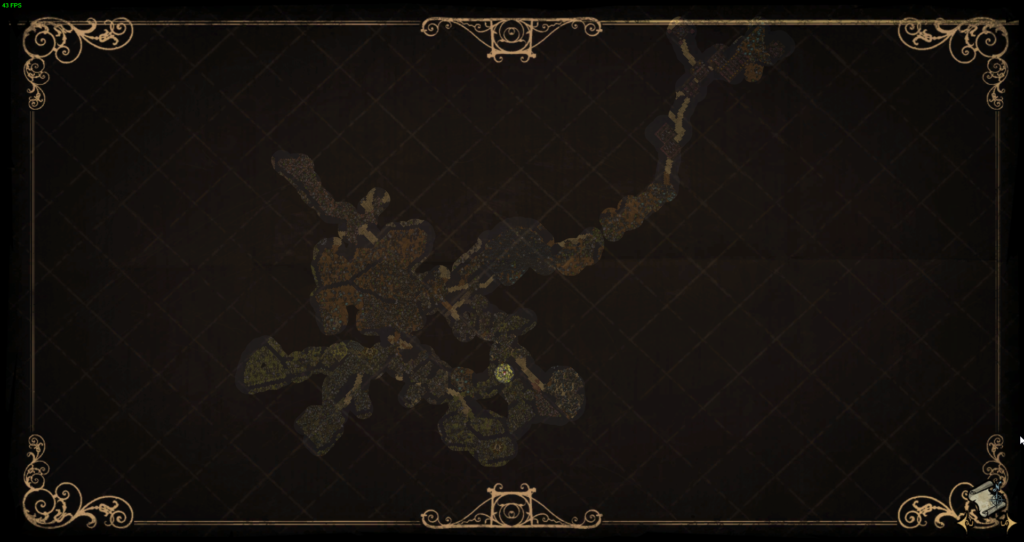
These are general rules that should apply in all worlds, but mind that each world generated differently so it might not look exactly the same in your world. Just keep your eyes open for the signs that are mentioned in this guide and you should eventually find it. For reference, here a picture of some parts of the cave along with some of the ruins explored. You will see that they are usually quite far away.
Rules inside the ruins
One of the most important aspects of the Ruins is the Nightmare Cycle. The Ruins has its own timer like day and night (altough it is not visible) and things inside the ruins change according to the time inside the Nightmare Cycle.
There are four phases of the Nightmare Cycle: the Calm Phase, Warning Phase, Nightmare Phase, and Dawn Phase. The entire cycle lasts 600 seconds.
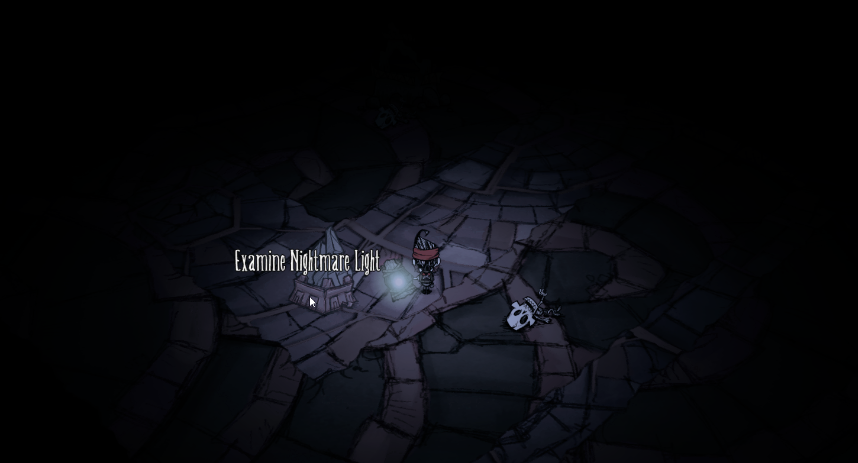
The most important part for you is that depending on the time of the cycle, the so-called Nightmare Lights can be open or closed. Nightmare Lights (and also Nightmare Fissures) are light sources that cannot be destroyed or opened. The kind of light they emit is however extremely dangerous as drains your sanity. Depending on the deepness of the cycle, the sanity-loss becomes higher and higher and will quickly kill you. Additionally, the Nightmare Lights spawn Shadow Creatures (like those that spawn when you are close to insane) even if you are not insane.
The Nightmare Cycle has 4 phases:
Calm Phase
- Active for about 360 to 450 seconds (6 to 7,5 minutes)
- The Nightmare Lights are closed and no shadow creatures will spawn
- The runic turf is blue
- No ambient sound can be heard in the background
Warning Phase
- Active for only about 90 to 180 seconds.
- The nightmare slights start slowly opening up
- The color of the runic turf slowly changes to grey
- The ambient sound is barely audible
- The ancient statues begin to glow
Nightmare Phase
- The Nightmare Phase is active for about 150 to 240 seconds.
- The Nightmare Lights have opened up completely and the Shadow
- Creatures will spawn.
- The ambient sound is very loud
- The ancient statues glow very brightly
- The runic turf glows red
- Earthquakes have the highest chance to occur during this phase
Dawn Phase
- Active for only 60 to 150 seconds.
- The Nightmare Lights are still open and the Shadow Creatures will still spawn
- The ancient statues still glow (but weaker)
- The runic turf has gone back to grey (like in the calm phase)
- The background sound is very low again (similar to the warning phase)
It is extremely advisable to stay away from the Fissures and Lights during the Nightmare Phase (the other non-calm phases are dangerous too though). Also, you can craft a Thulecite Medallion to check the current state.
The Ancient Pseudoscience Station

One of the most intriguing and interesting oddities of the Ruins is the Ancient Pseudoscience Station. The Ancient Pseudoscience Station is a crafting structure similar to the ones you can build yourself, except that these can only be found in the ruins and not be moved. The recipes of the Ancient Pseudoscience Station are unique and related to Thulecite, the resource that you can find around the Ruins. Also, you can only craft those items next to the Ancient Pseudoscience Station. You cannot “learn” the recipe like with other items.
There are multiple Ancient Pseudoscience Stations to be found in the Ruins. Some of them will be broken and need to be repaired, but it usually requires a big amount of Thulecite and while that can be worth it, you should definitely explore the ruins and try to look for a station that is already repaired. Usually you should be able to find one (protected by multiple Damaged Bishops). The broken station will work too though, but it will only offer half of the recipes that are possible.
Items that you can craft while at the Station:
Thulecite
- Requires:
- 6 Thulecite Fragment
- Used for crafting many other recipes in the Ancient Pseudoscience Tab.
Thulecite Wall
- Requires:
- 1 Thulecite
- 500 Health when placed and up to 800 health when upgraded.
- Toughest Wall in the game.
Thulecite Medallion
- Requires:
- 2 Thulecite
- 2 Nightmare Fuel
- Changes Colors to show the current state of the Nightmare Cycle
- Calm Phase is tan
- Warning Phase will be tan with red accents
- Nightmare Phase will be a glowing red
- Can be examined for further details on the current phase
Magiluminescence
- Requires:
- 2 Thulecite
- 2 Nightmare Fuel
- 1 Yellow Gem
- When equipped:
- Provides a small source of light
- Increases Movement Speed by 20%
- Gives +2 Sanity per minute
Construction Amulet
- Requires:
- 2 Thulecite
- 3 Nightmare Fuel
- 1 Green Gem
- When equipped:
- All crafted items only require half of their materials
- Costs 20% durability per item crafted
- Gives +2 Sanity per minute
Star Caller’s Staff
- Requires:
- 4 Nightmare Fuel
- 2 Living Log
- 2 Yellow Gem
- Can be cast to summon a Dwarf Star that will lighten up the night for 28 minutes (3 and a half in-game days)
- Has a total of 20 uses
- Can be transformed into a Moon Caller’s Staff using a Moon Stone.
Deconstruction Staff
- Requires:
- 4 Nightmare Fuel
- 2 Living Log
- 2 Green Gem
- When used, you can deconstruct any building or item and get 100% of the materials back. If you cast it on an item with low durability, you will get the materials based on the percentage of the durability back.
The Lazy Forager
- Requires:
- 2 Thulecite
- 3 Nightmare Fuel
- 1 Orange Gem
- When equipped, it will automatically pick up items without having to interact with them.
- Has 225 charges, meaning it can pick up a total of 225 items.
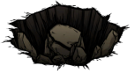
- The Lazy Forager is one of the only ways to pick up items that spawn on Cave Holes (see picture).
- Gives +2 Sanity per minute.
The Lazy Explorer
- Requires:
- 2 Nightmare Fuel
- 1 Walking Cane
- 2 Orange Gem
- Once equipped, you will be able to teleport anywhere where your cursor is currently pointing at.
- Has 20 uses.
- Passively increases Movement Speed by 25%
- Costs -15 Sanity per use.
Pick/Axe
- Requires:
- 1 Luxury Axe
- 1 Opulent Pickaxe
- 2 Thulecite
- Essentially an Axe and a Pickaxe at the same time.
- You can use it on mine or chop.
- 20% more efficient than a normal Luxury Axe or Opulent Pickaxe
Thulecite Crown
- Requires:
- 4 Thulecite
- 4 Nightmare Fuel
- Head Armor that absorbs 90% of incoming physical damage
- Has 1200 durability
- Force Field:
- Has a 33% chance to create a force field whenever you are hit.
- Force field will last 4 seconds and will make you immune to damage (except fire) and immune to stuns
- Force field cannot occur more than once every 9 seconds
- The Force field will emit light
- 5% of the damage that you receive on the force field will be subtracted from your sanity
Thulecite Club
- Requires:
- 3 Living Log
- 4 Thulecite
- 4 Nightmare Fuel
- A weapon that deals 59.5 damage per hit
- Has a total of 200 uses
- 10% increased Movement Speed
- Each hit has a 20% chance to spawn a Shadow Tentacle for 9 seconds that will attack all nearby enemies
- Shadow Tentacles will drain sanity like normal tentacles (40 per minute)
Thulecite Suit
- Requires:
- 6 Thulecite
- 4 Nightmare Fuel
- Armor that absorbs 90% of incoming physical damage
- 1260 Durability
- Increases Sanity by 3.3 per minute
Houndius Shootus
- Requires:
- 1 Guardian’s Horn
- 1 Deerclops Eyeball
- 5 Thulecite
- A structure that can be placed
- Essentially a turret that attacks nearby enemies
- Has 1000 health and deals 65 damage per hit
- Can be repaired with healing items
- Drains 6.25 Sanity per minute on proximity
Some of these items are exceptionally powerful or useful. The Lazy Explorer, for example, will allow you to teleport to wherever your cursor is currently pointing. The Lazy Forager will let you pick up items automatically which can be very useful. Some items require rare materials such as orange or green gems.
The layout of the Ruins
The ruins have a multiple different biomes that are all part of it. As mentioned, the Lichen fields for example, are already considered part of the Ruins. The others are:
- Military Biome
- Sacred Biome
- Village Biome
- Wilds Biome
- Atrium Biome
The Atrium Biome is exclusive to Don’t Starve Together and is a very complicated and unique place in the Ruins with its own rules. It is very dangerous and can leave you locked in so you need to be careful. You can enter it by killing a Large Tentacle and jumping into the Tentacle Pillar Hole that it will leave. Due to its complexity, the Atrium will be covered in a separate guide.
Conclusion
The Ruins is not just one of the most dangerous places in Don’t Starve Together, it is also one of the most rewarding. Countless unique recipes with extremely powerful items can only be crafted here. There are plenty of individual Biomes to be explored, and some bosses and unique loot to be found.
If you have not explored the Ruins yet, definitely prepare yourself accordingly and then take a dive in as it will be very well worth it.