Don’t Starve Together has a lot of bosses, and the game does not really tell you which ones are meant for a fresh world and which ones will wipe your whole group in seconds. Once you have survived your first few seasons, the question of which boss to go for next is going to come up sooner or later.
This guide will give you a boss progression order that works well for a normal world, explain what each boss requires to even show up, and show how the two endgame paths (shadow and lunar) fit together. Beware that this guide is only for Don’t Starve Together, as the single-player version has different bosses and different rules.
How boss progression works in DST
There is no fixed order you have to follow. Almost none of the bosses are hard requirements for other bosses, so in theory you can fight most of them whenever you feel ready. That being said, the bosses roughly fall into four groups:
- Seasonal giants that come to you whether you like it or not (Deerclops, Moose/Goose, Antlion, Bearger)
- Optional bosses you have to go looking for (Dragonfly, Bee Queen, Klaus, Toadstool, Malbatross and co.)
- Endgame bosses that sit at the end of a longer chain of tasks (Ancient Fuelweaver for the shadow path, Celestial Champion for the lunar path)
- Rift bosses that only exist after you open a Lunar or Shadow Rift
The seasonal giants are your natural starting point, because you have to deal with them anyway. Everything after that is mostly about which loot you want first.
Recommended boss order
This is the order I would recommend for new and intermediate players, and it is also close to what you will find in most community threads. Take it as a rough guideline only. If your group is strong, you can easily pull Dragonfly or Klaus forward.
| # | Boss | When | Why you want it |
| 1 | Deerclops | First Winter (around day 31) | Deerclops Eyeball (Eyebrella) |
| 2 | Moose/Goose | Spring | Down Feathers (Luxury Fan) |
| 3 | Antlion | Summer | Desert Stones (The Lazy Deserter), no more Sinkholes |
| 4 | Bearger | Second Autumn | Thick Fur (Hibearnation Vest, Insulated Pack) |
| 5 | Eye of Terror | Any night, once you find a Terrarium | Milky Whites, Eye Mask |
| 6 | Ancient Guardian | Any time (Ruins) | Guardian’s Horn, Ancient Key |
| 7 | Klaus | Winter | Bundled Supplies, gems |
| 8 | Dragonfly | Any time | Scales, lots of gems, Scaled Furnace blueprint |
| 9 | Bee Queen | Any time | Bee Queen Crown, Royal Jelly |
| 10 | Nightmare Werepig, then Scrappy Werepig | Any time (Caves) | Dreadstone gear blueprints |
| 11 | Crab King and Celestial Champion | Any time (Ocean, Lunar Island) | Lunar path endgame |
| 12 | Ancient Fuelweaver | Any time (Atrium) | Shadow path endgame |
Seasonal giants
Deerclops (Winter)
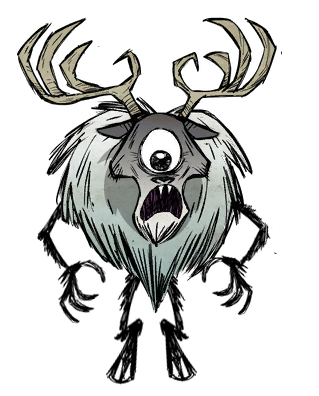
The Deerclops is the first real boss almost every player runs into. On default settings it will spawn around day 31, roughly in the middle of your first Winter. It has 4000 health, hits hard, freezes you after two consecutive hits and happily destroys your base if you let it.
It drops the Deerclops Eyeball, which you need for the Eyebrella (the best hat for Spring and Summer) and the Houndius Shootius. We have a full Deerclops guide with all the strategies, spawn rules and the new Crystal Deerclops.
Moose/Goose (Spring)
The Moose/Goose will appear within the first day or so of Spring, somewhere between half a day and one and a half days in, at about half of the Moose/Goose Nests in your world. She lays an egg that hatches into 5 Moslings, and if you hit one of the Moslings, she will come for you right away. She has 6000 health and leaves once Summer arrives, as soon as she is offscreen.
Her Down Feathers are what you are after, as they are needed for the Luxury Fan, which is a lifesaver in Summer.
Antlion (Summer)
The Antlion sits in the Oasis Desert during Summer. It is a little bit different from the other giants, as you can either appease it with tributes or kill it. If you do neither, it will punish you with Sinkholes on the surface (30 damage and destroyed structures) or falling boulders in the Caves.
It has 6000 health. Killing it drops Desert Stones, which are used for The Lazy Deserter and the Turf-Raiser Helm, and more importantly puts an end to the Sinkholes for the rest of that Summer. It comes back next Summer.
Bearger (Autumn)
Bearger only spawns when the world is more than 26 days old and it is Autumn. With default settings this means you will first see it on day 3.75 to 6.25 of your second Autumn, so if you started in Autumn, you get a year of peace first.
It has 6000 health and drops Thick Fur for the Hibearnation Vest and the Insulated Pack. It will happily eat your food and flatten your berry bushes, so make sure to fight it away from your base.
Optional bosses
Eye of Terror and the Twins of Terror
The Eye of Terror is summoned with a Terrarium, which you can find in a Conspicuous Chest somewhere in a Forest. Place it, touch it and wait until nightfall. If you do not kill the Eye before morning, it will flee and come back the next night with the health it had left, plus 5% of its maximum health for each day it was gone.
It has 5000 health, which makes it a good first optional boss. If you corrupt the Terrarium with a Nightmare Fuel, you summon the much harder Twins of Terror instead.
Klaus
Klaus only appears in Winter. A Loot Stash spawns 1 to 3 days into Winter in the Deciduous Forest (or the Mosaic Biome), and putting a Deer Antler into it summons Klaus together with a red and a blue Gem Deer.
Bear in mind that if one of the deer dies or gets separated from him, Klaus will enrage, which multiplies his health and damage by 2.744 and gives him 64% damage reduction. The easiest fight is to kill Klaus first while both deer are alive. After his second death he drops a Stag Antler, the proper key for the Loot Stash, which opens into 4 Bundled Supplies.
Dragonfly
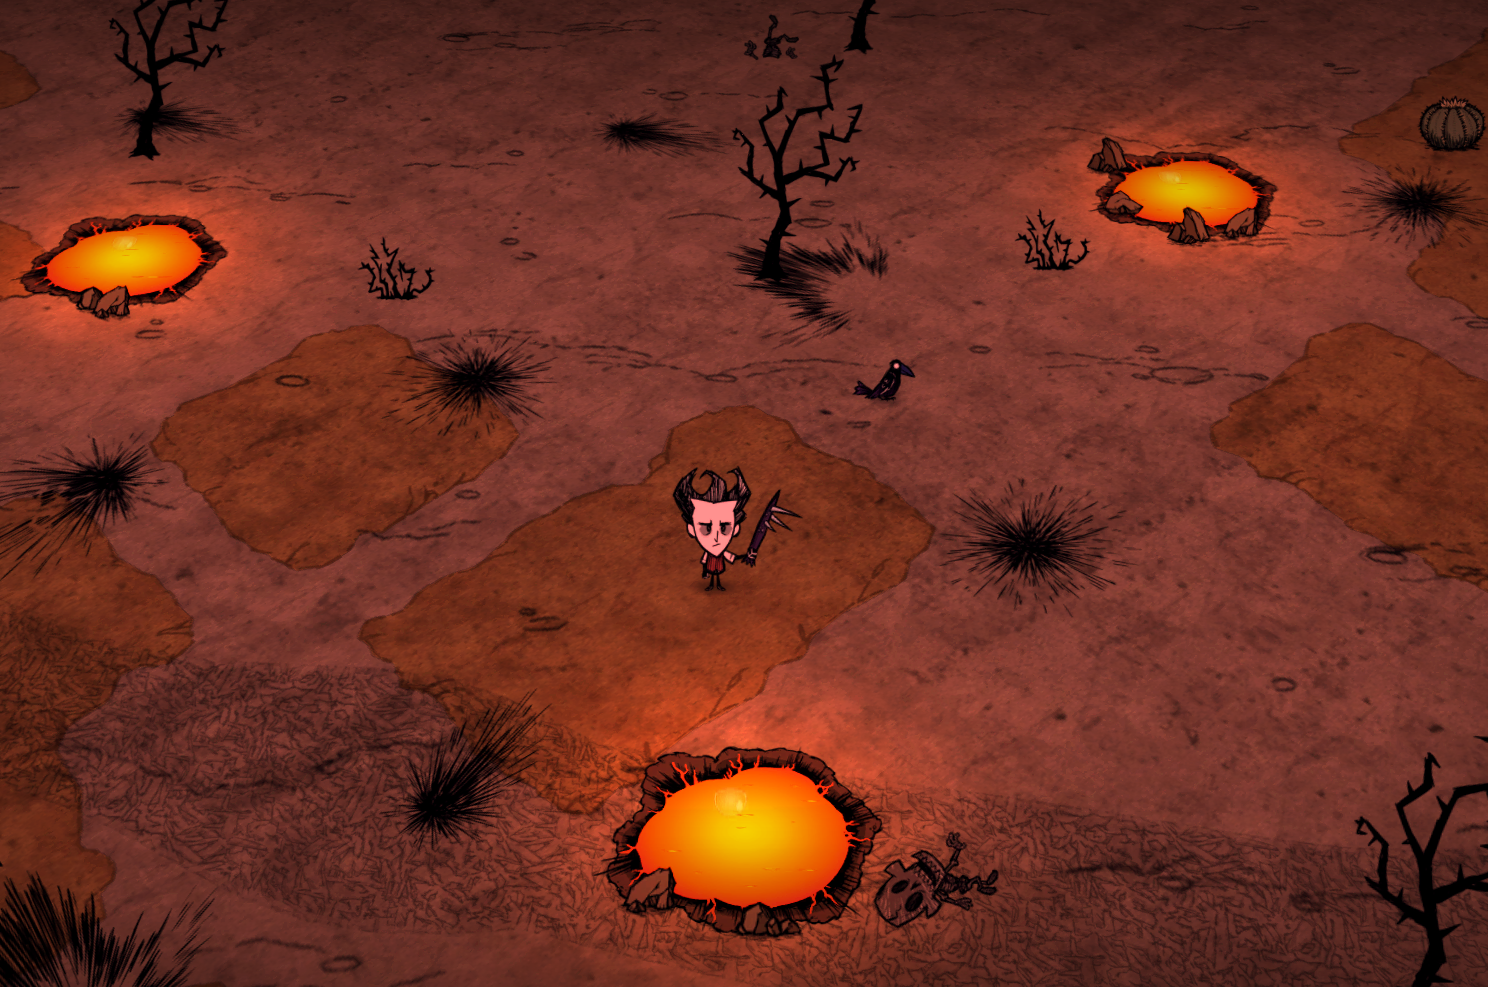
Unlike in the single-player version, the Dragonfly in Don’t Starve Together is not a seasonal boss. She lives year-round at the Dragonfly Nest in the Badland Desert and has 27,500 health, which is a big jump from the seasonal giants.
Her loot is worth it though: Scales, 4 to 8 Gold Nuggets, gems of every color, a one in three chance at a Lavae Egg and the blueprint for the Scaled Furnace. See our Dragonfly guide for how to deal with her and her Lavae.
Bee Queen
The Bee Queen lives inside the Gigantic Beehive in the Grasslands. Hammer the hive enough and she comes out, together with a swarm of Grumble Bees. She has 22,500 health and is usually considered one of the harder optional bosses for a small group.
She drops the Bee Queen Crown, Royal Jelly, and the blueprint for the Bundling Wrap.
Toadstool
Toadstool lives in the Caves under a Toadstool Cap, in one of three holes surrounded by ponds. Chop the cap and the fight starts. With 52,500 health it is one of the tankiest bosses in the game, and its Misery version has 99,999. If you leave the fight, it will simply burrow back into its hole.
Malbatross, Frostjaw and the ocean bosses
If you go out to sea, you will eventually meet the Malbatross. It spawns at Deep Bass shoals and can also show up when you hook a Deep Bass. It has 5000 health and drops Malbatross Feathers and a Malbatross Bill.
Frostjaw (8000 health) is summoned by catching 3 Deep Bass at the Ice Fishing Hole on the Ice Sheet in the Rough Ocean.
Smaller bosses
- Spider Queen (2500 health): spawns from an overgrown Tier 3 Spider Den
- Lord of the Fruit Flies (1500 health): appears when 15 or more farm plants grow fully in a small area, at the earliest after day 35
- Treeguards: can spawn when you chop Evergreens
- Shadow Pieces: spawn when you hammer a Chess Piece or mine a Marble Sculpture during a New Moon. The level 3 version drops the Shadow Atrium you need for the Ancient Fuelweaver
The Ruins and the Ancient Guardian
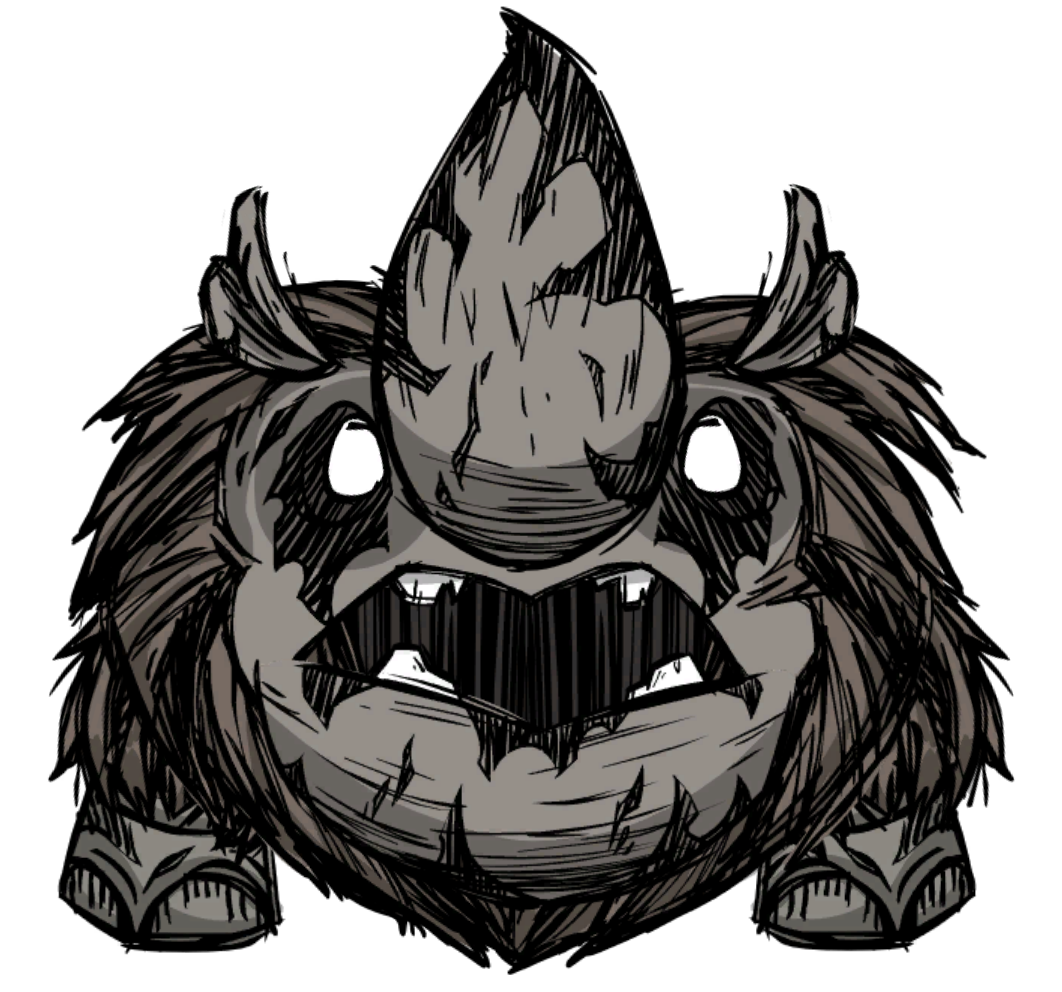
Sooner or later you are going to have to go to the Ruins. The Ancient Guardian sits in the Labyrinth and has 10,000 health (its second phase starts below 6000). It charges at you and gets stunned for a few seconds whenever it runs into one of the Ruins Pillars, which is your window to attack.
It drops a Guardian’s Horn and a Large Ornate Chest. The chest contains the Ancient Key, which you need for the Ancient Fuelweaver later on. Make sure all shadow tentacles are gone before you loot the chest.
The shadow path
The shadow path takes place in the Caves and ends with the Ancient Fuelweaver.
Nightmare Werepig
The Nightmare Werepig is chained up between three Cracked Pillars in the Muddy Biome of the Caves from day 1. To free it, mine the marble off each pillar and then make all three vibrate at the same time with a strong mining tool (for example a Pick/Axe). After that, you will have to go insane and kill the Parasitic Shadelings clinging to it before the actual fight starts.
It has 10,000 health and drops Pure Horror and the blueprints for the Dreadstone Helm, Dreadstone Armor and Dreadstone Wall. 10 days after you beat it, the Scrappy Werepig can be found inside the Teetering Junk Pile in the Junk Yard.
Ancient Fuelweaver
To summon the Ancient Fuelweaver you need three things:
- The Ancient Key from the Ancient Guardian, inserted into the Ancient Gateway in the Atrium
- A fully repaired Odd Skeleton (Fossil Fragments drop from Stalagmites at a 10% rate and from Spilagmites every time)
- A Shadow Atrium from a level 3 Shadow Piece
Insert the Shadow Atrium into the skeleton and the fight begins, with an instant 40 Sanity loss as a welcome gift. The Fuelweaver has 16,000 health, traps players in bone cages and in his second phase spawns Woven Shadows he tries to eat to heal. He drops the Shadow Thurible, Bone Helm, Bone Armor and 8 Fossils, and the Ruins regenerate a few minutes later.
The lunar path
The lunar path takes place on the surface and out at sea and ends with the Celestial Champion.
Crab King
The Crab King sits inert in the Swell Ocean inside a ring of Sea Stacks. To start the fight you have to socket 9 gems into it, and the colors you pick decide how strong its abilities are (the Pearl’s Pearl from the Crabby Hermit counts as 3 of each color). It has 12,000 health.
For the lunar path it matters because it holds one of the pieces you need for the Celestial Champion.
Celestial Champion
Once all three Lunar Altars are completed next to each other on the Lunar Island, you build the Lunar Siphonator on the Mysterious Energy that appears. A meteor crashes down, absorbs the altars and the Celestial Orb, and the Celestial Champion wakes up.
The fight has three forms, and the first one alone has 10,000 health. Its remains can be mined for the Enlightened Crown and an upgraded Celestial Orb with access to all Celestial recipes.
Rift bosses
Beating the endgame bosses opens the door to the Rifts, which change your world permanently.
- Lunar Rift: after the Celestial Champion, give an Enlightened Shard to the Grainy Transmission. Rifts start opening on the surface 5 days later. Killed Deerclops, Bearger and Varg can then come back as the Crystal Deerclops, Armored Bearger and Possessed Varg. Beating all three gets you a Spark Ark, and the chain eventually leads to the Celestial Scion
- Shadow Rift: after the Ancient Fuelweaver, offer 5 Dreadstones to the Beckoning Hand in the Atrium. Shadow Rifts then open in the Caves, and this path leads up to the Shrouded Queen
Mind that both of these are irreversible. If you are not ready for the new threats yet, simply do not hand over the Shard or the Dreadstones.
Conclusion
For most groups the smoothest path is to take the seasonal giants as they come, then do the Ruins and the Ancient Guardian, pick up Klaus, Dragonfly and the Bee Queen for their loot, and only then commit to the shadow or lunar path. Nothing stops you from doing both endgame paths at the same time, so I would just pick the one whose gear suits your characters better.
When you get to the Ancient Guardian step, our Ruins guide explains where the entrance is and how to get down there.